|
|

Our 3-step Getting Started instruction should take no more than five minutes to accomplish.
Covered in this document is:
- The 3 easy Getting Started "How to's" (5 minutes)
- How to add a page (1 minute)
- How to edit a page (1 minute)
With InstantEcom, you will be more productive, spending your time writing your website copy, rather than
being bogged down with the mechanics of editing it.
Getting started in just 3 easy steps
Below, you will find a description of the 3 Getting Started steps:
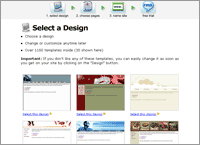 |
Step 1: Choosing Your Design
Click to choose a design.
- There are over 1000 designs available within the 30 that are shown.
- Change designs any time you want.
|
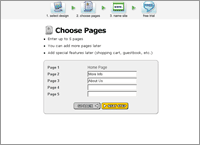 |
Step 2: Naming Your Pages
You are able to name up to 5 pages within your site.
You can add additional pages any time. See below for info on adding a page. |
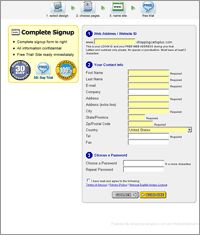 |
Step 3: Select a Domain Name, Enter Account Info
Select a name for your website.
Enter your account information.
You are finished! |
Add a Page
It takes only one minute to add a page to your site:
 |
Step 1: On the editing toolabar, click Add Page,
this will open the Add Page wizard. |
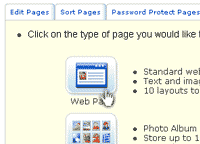 |
Step 2: Select a page type
There are 35 layouts to choose from including:
- Message boards
- Photo albums
- Shopping cart catalogs
- Specialized forms
- more features...
|
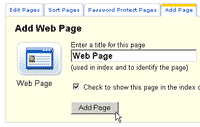 |
Step 3: Name Your Page
Select and enter a name for your new page, then edit it. See editing info below. |
Page Editing
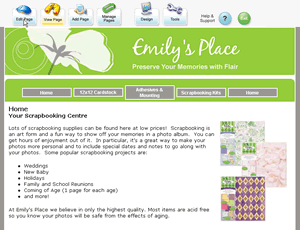
It takes only about one minute to edit a page. See example below or click here to view the video.
 |
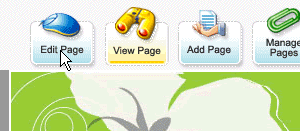
Step 1: Click Edit Page
The editing toolbar, which is only visible to you, is displayed at the top of every page in your website.
To make changes to your page, click Edit Page on the toolbar.
If you just added a page, you will be
taken to edit mode automatically, so you can skip this step. |
 |
|
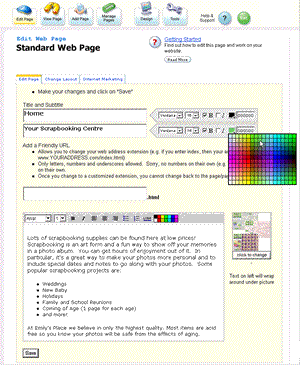 |
Step 2: Edit Page
The Easy Editor is as simple to use as a word processor.
From the on-screen menus, your can select from many fonts, styles and colors. |
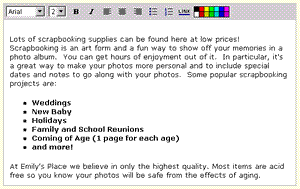 |
If you can use MS Word or any other word processor, you can use the Easy Editor.
No downloads or installs needed. |
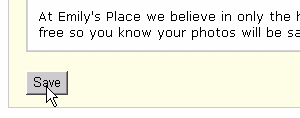 |
Click Save when you're finished. |
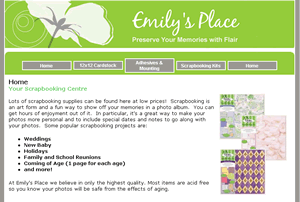 |
Step 3: Preview your changes
You're finished! |
|

